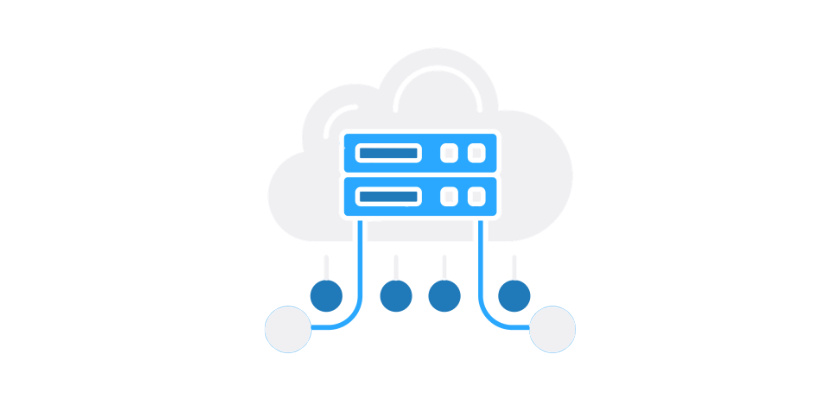
For many development teams, hosting their own Git repository and CI/CD pipelines offers greater control, security, and flexibility than using a cloud-based service. Self-hosted GitLab provides a powerful alternative to GitHub and GitLab.com, allowing you to run your own private GitLab instance on your own infrastructure, whether it's a dedicated server, cloud VM, or Kubernetes cluster.
In this guide, we'll cover: ✅ When to choose self-hosted GitLab over GitLab.com ✅ System requirements and installation methods ✅ Configuring GitLab securely for production use ✅ Setting up GitLab CI/CD with self-hosted runners ✅ Best practices for managing a self-hosted GitLab instance
By the end, you'll have a fully functional self-hosted GitLab server ready for private repositories, automated CI/CD pipelines, and team collaboration.
Why Choose Self-Hosted GitLab?
Deciding whether to self-host GitLab isn't just about having more control, it's about understanding what your team actually needs. If security, infrastructure control, and customization are key concerns, self-hosting might be the right choice.
For example, if you're working in a regulated industry like finance, healthcare, or government, keeping your repositories private and behind a corporate firewall might not just be a preference, it could be a legal requirement. With a self-hosted GitLab instance, your code, CI/CD pipelines, and security policies remain 100% under your control, reducing risks associated with third-party cloud providers.
Another big advantage is customization and performance optimization. If your CI/CD pipelines run thousands of jobs daily, cloud-based GitLab might slow you down with shared runners and usage limits. By self-hosting GitLab Runners on dedicated machines, you can fully optimize performance, reduce costs, and eliminate bottlenecks.
But self-hosting isn't for everyone. Maintaining servers, backups, and security patches requires a dedicated team. If you're a small team or startup, the ease of GitLab.com might outweigh the flexibility of self-hosting. Before making the switch, ask yourself: Do we have the resources to maintain a GitLab server long-term? If not, a managed cloud solution might be the better fit.
System Requirements & Installation Options
🔹 Recommended System Requirements
Component | Minimum Requirement |
|---|---|
CPU | 4 cores (8+ recommended for large teams) |
RAM | 8GB (16GB+ recommended for CI/CD workloads) |
Storage | 50GB+ (SSD recommended for better performance) |
OS | Ubuntu 22.04 / Debian 11 / RHEL 9 |
🔹 Installation Methods
GitLab provides multiple installation options:
1️⃣ Docker-Based Deployment (Best for quick setup) 2️⃣ Package-Based Installation (Best for production servers) 3️⃣ Cloud-Based VM (Best for scalable deployments)
Once installed, access GitLab via a web browser at http://your-server-ip and complete the initial setup.
Initial Configuration & Secure Setup
🔹 Setting Up Users & Repositories
- Login as the root user and set an admin password.
- Create a new project (Private, Internal, or Public).
- Invite team members and define access roles (Guest, Developer, Maintainer).
🔹 Enabling HTTPS & Firewall Rules
To secure your GitLab instance, set up SSL/TLS encryption and firewall protections.
🔹 Setting Up Backups
Regular backups ensure you can recover from failures:
sudo gitlab-backup createConfiguring GitLab CI/CD on a Self-Hosted Server
🔹 Setting Up GitLab Runners
GitLab CI/CD uses GitLab Runners to execute jobs. To install a self-hosted GitLab Runner:
sudo apt install gitlab-runnersudo gitlab-runner register🔹 Writing a .gitlab-ci.yml Pipeline
Example .gitlab-ci.yml file for automated testing & deployment:
stages:    - build    - test    - deploy
build_job:    stage: build    script:        - echo "Building the application"
test_job:    stage: test    script:        - echo "Running tests"
deploy_job:    stage: deploy    script:        - echo "Deploying to production"
This automatically triggers builds, tests, and deployments whenever code is pushed to GitLab.
Best Practices for Managing a Self-Hosted GitLab Server
🔒 Security Hardening: Locking Down Your GitLab Instance
✅ Require Two-Factor Authentication (2FA) - Enforce 2FA across all users to reduce unauthorized access risks. ✅ Restrict SSH & HTTP Access - Use firewall rules and VPNs to limit who can access your GitLab instance. ✅ Enable Audit Logs - Track logins, code changes, and security events in Admin > Monitoring > Logs.
🚀 Performance Optimization: Keeping GitLab Running Smoothly
✅ Use SSD Storage - Git repositories and CI/CD jobs involve a lot of read/write operations. ✅ Scale with Additional GitLab Runners - If CI/CD pipelines are slow, add more runners on separate machines. ✅ Enable Redis Caching - Reduce database query times and speed up response times.
🛡️ Backup & Disaster Recovery: Preparing for the Worst
✅ Automate Daily Backups - GitLab has a built-in backup system. Schedule daily backups using a cron job:
0 2 * * * sudo gitlab-backup create✅ Use Off-Site Storage - Store backups in AWS S3, Google Cloud Storage, or an external NAS. ✅ Set Up High Availability (HA) Clustering - If uptime is critical, consider a multi-node GitLab setup.
Self-hosting GitLab isn't just about spinning up a server, it's about making a long-term commitment to managing infrastructure, security, performance, and backups. If done right, it can give you complete control over your DevOps workflows, ensuring faster pipelines, better security, and seamless scaling.
But if your team isn't ready to handle infrastructure management, GitLab.com remains a strong alternative with fewer maintenance headaches.